Product description
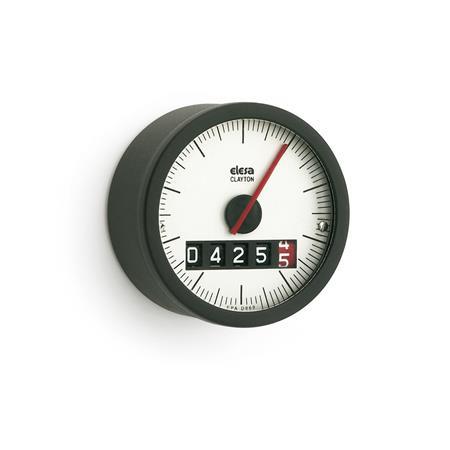
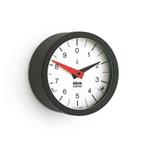
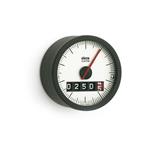
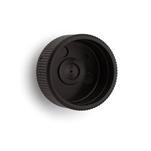
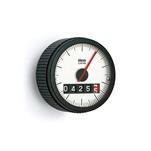
Position indicators GN 000.3 have been shaped for installation into different operating elements.
The salient features of these counters are:
The housing, the hand spindle, and safety glass are produced from one piece of material and ultrasonically welded to give a spray water proof and corrosion free unit (Protection class IP 67).
The pendulum system is fitted with ball bearings to give the most accurate reading usable up to a spindle inclination of 60° angular.
The numbers in the counter are very clear and the decimal numbers are shown in red.
One complete revolution of the red pointer corresponds to one revolution of the spindle. This gives a very accurate reading and, combined with the digital indication from the counter, it is very simple to read.
Specification
Housing
Plastic, Polyamide (PA)
- Glass fiber reinforced
- Black, matte
Sight glass
Plastic, Polyamid (PA-T)
- Clear glass, ageing proof
- Shock-resistant
Housing / Sight glass
- Operating temperature 0 °C to +100 °C
- Oil and solvent proof
(not suitable for alcohol)
Pointer
Plastic
Red
Scale
Aluminum
- Matte anodized
- Graduation lines black
Counter
- Digits white
- Pre-decimal positions highlighted black
- Decimal positions highlighted red
Pendulum system on ball bearings
Protection class IP 67
RoHS
Accessory
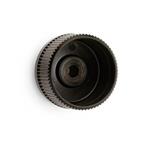
Hand Knobs GN 534.8
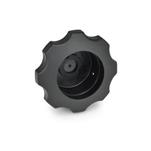
Hand Knobs GN 526.8
Handwheels GN 577.8
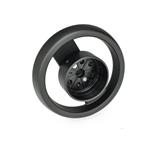
Spoked Handwheels GN 522.8
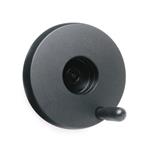
Disk Handwheels GN 521.8
Disk Handwheels GN 323.8
On request
- Special scales

